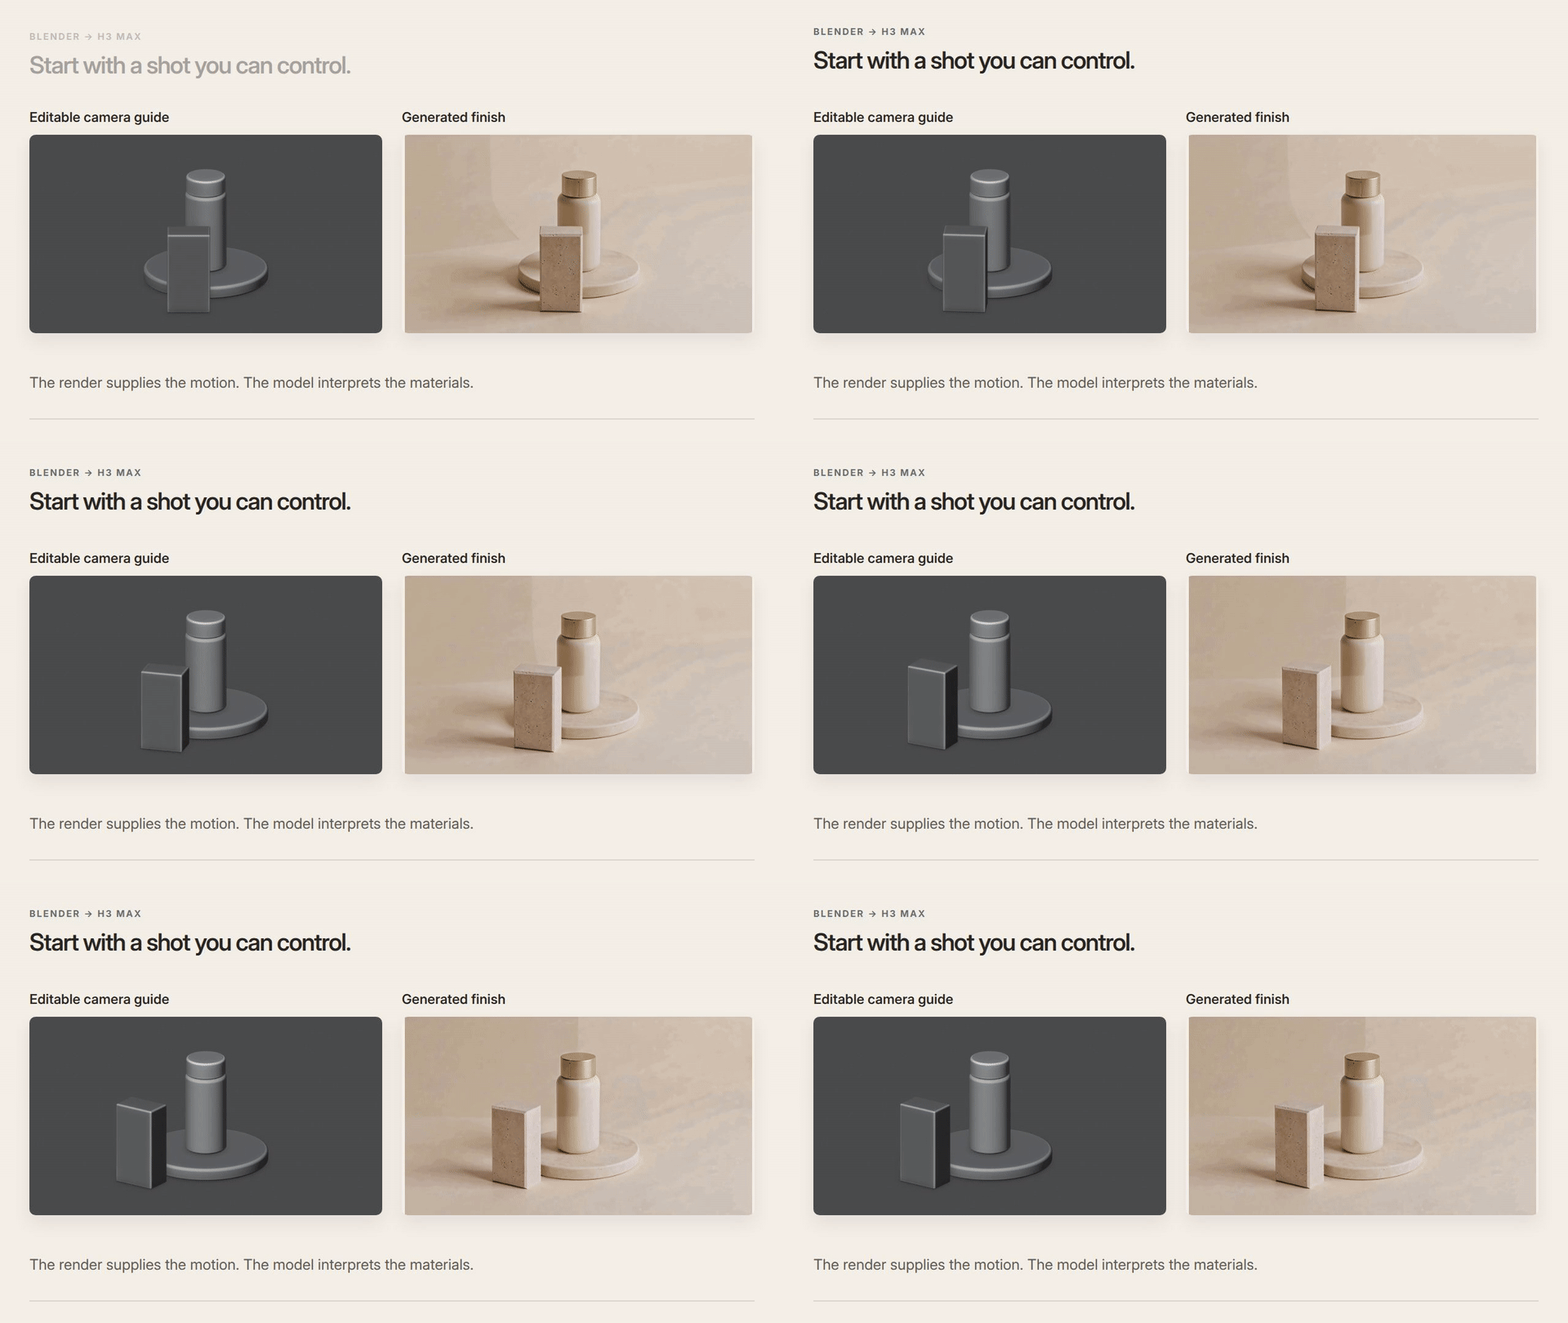
A product reveal needs more than a nice bottle. The foreground should clear at the right moment, and the ending should leave room to read the shot. Those decisions matter in product teasers, pitch films and previsualization.
A rough Blender scene gives you something concrete to change: the camera. You can then feed its render to H3 Max’s 3D-to-video endpoint for an interpreted finish. Here’s our six-second example, with the prompts and editable files.
Block the shot first
You can do this with Blender and a coding agent outside Voyager. Blender must be installed separately. Start with this reusable version of our creation prompt:
Create an editable six-second Blender shot at 24 fps and 960×540. Put a plain cylindrical bottle on a low round pedestal. Start with the bottle partly hidden by a foreground block, orbit 35 degrees to reveal it, then hold the final composition for one second. Keep all objects stationary. Use a gray clay look and a 16:9 frame with breathing room. Save the .blend, Python scene script and preview MP4. Use a quick preview renderer and benchmark before rendering the sequence.
Inspect the beginning, middle and ending. Does the foreground actually reveal the bottle? Does anything clip? Does the final second hold still? Fix those decisions while the source is cheap to change.
Download the complete example: both cleaned Blender scenes, scripts, prompts, videos and a local HTML viewer. Extract the ZIP before opening index.html; its videos play without a server or internet. Rebuilding requires Blender and FFmpeg, and new model runs require internet and paid access.
Use the preview to guide the finish
Submit the actual gray preview video to minimax/h3-max/3d-to-video. We used 768P and allowed the endpoint to generate up to one appearance image. For the finish above, we also supplied an appearance reference frame. This was the submitted prompt:
The tall cylinder is one plain unbranded skincare bottle, with an ivory body and brushed pale gold cap. The circular base is a low pale stone pedestal. The foreground rectangular block is a solid pale limestone block, not packaging. Finish as an elegant photographic product studio with a cream background and soft warm light. Keep these three objects stationary. Preserve the reveal and final reading hold supplied by the camera guide. No lettering, labels, logos, people or additional objects.
Our text-only attempt also produced a reveal, but invented label text despite the instruction to omit it. It’s included in the download. This is a workflow example with one take per request, not evidence that one input mode always wins.
Take the revision further in Voyager
The useful part of keeping the scene is the next request. In Voyager, we paused the guide at 1.50 seconds, pinned a note near the occlusion and sent:
Open up the reveal: increase the camera orbit from 35° to 60°. Keep the bottle, block and pedestal fixed. Keep six seconds and the final one-second hold. Save a new scene-v2.blend and preview-v2.mp4; preserve v1.
Voyager attaches the frame, timestamp and note to the conversation. The agent changed the Blender camera animation and rendered v2; the mesh positions stayed fixed. That saves the manual step of exporting a screenshot and describing where the revision belongs. The editable source makes the request precise.
Description / transcript
A gray camera guide becomes an ivory and gold product shot. In Voyager, a note pinned at 1.50 seconds asks for a 60-degree orbit while keeping the objects fixed. The agent saves v2. The 35-degree and 60-degree guides are compared at matching times, followed by the new generated finish.
We generated again from v2, using a frame from the original finish as an appearance reference. Compare every result with its guide: a wider orbit in Blender does not guarantee an exact 60-degree camera move in the generated video. Use this for directing a concept; retain deterministic rendering when exact geometry or branding is essential.
Make your next project in Voyager
Create an account, download Voyager, and start making.